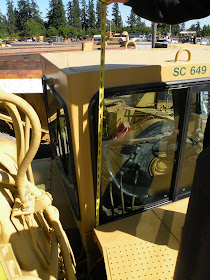
The Tools:
Camera - Taking photos of measurements is much easier than filling a notepad with numbers and descriptions of where the measurements were taken.
Tape Measure - When measuring large features of a machine, a tape measure gets small and hard to see in photos. Rather than zooming in on the photo to read the tape, we mark every inch of it with a permanent marker so it's more visible.
The Process:
We start on the ground, walking around the machine and measuring the tires, grill, and anything else we can reach.
After establishing a reference measurement, a number of detailed photos of the engine are taken.
Moving up the machine, the remainder of the exterior details are measured.
After all the measurements have been taken, we take the photos to our office and start plugging them into Solidworks, the 3D software we use to make our models.


No comments:
Post a Comment